
How to Install Lights on a Green Wall
- Home
- How to Install Lights on a Green Wall
How to Install Lights on a Green Wall
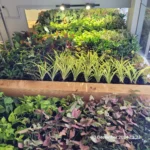
Introduction :Green Walls, also known as Vertical Gardens, have gained immense popularity for their aesthetic appeal & environmental benefits. Adding lights to a Green Wall can elevate its beauty & create a captivating visual display. Whether you’re looking to illuminate indoor or outdoor spaces, this guide will walk you through the process of installing lights on a Green Wall with a professional touch.
Step 1: Planning & Design
Before you start installing lights on your Green Wall, it’s essential to have a clear plan in place. Consider the type of lights & decide on the locations where they’ll be placed. Take into account the layout of your Green Wall, the plants’ growth patterns the overall ambiance you want to create.
Step 2: Gather Your Tools & Materials
For this project, you’ll need:
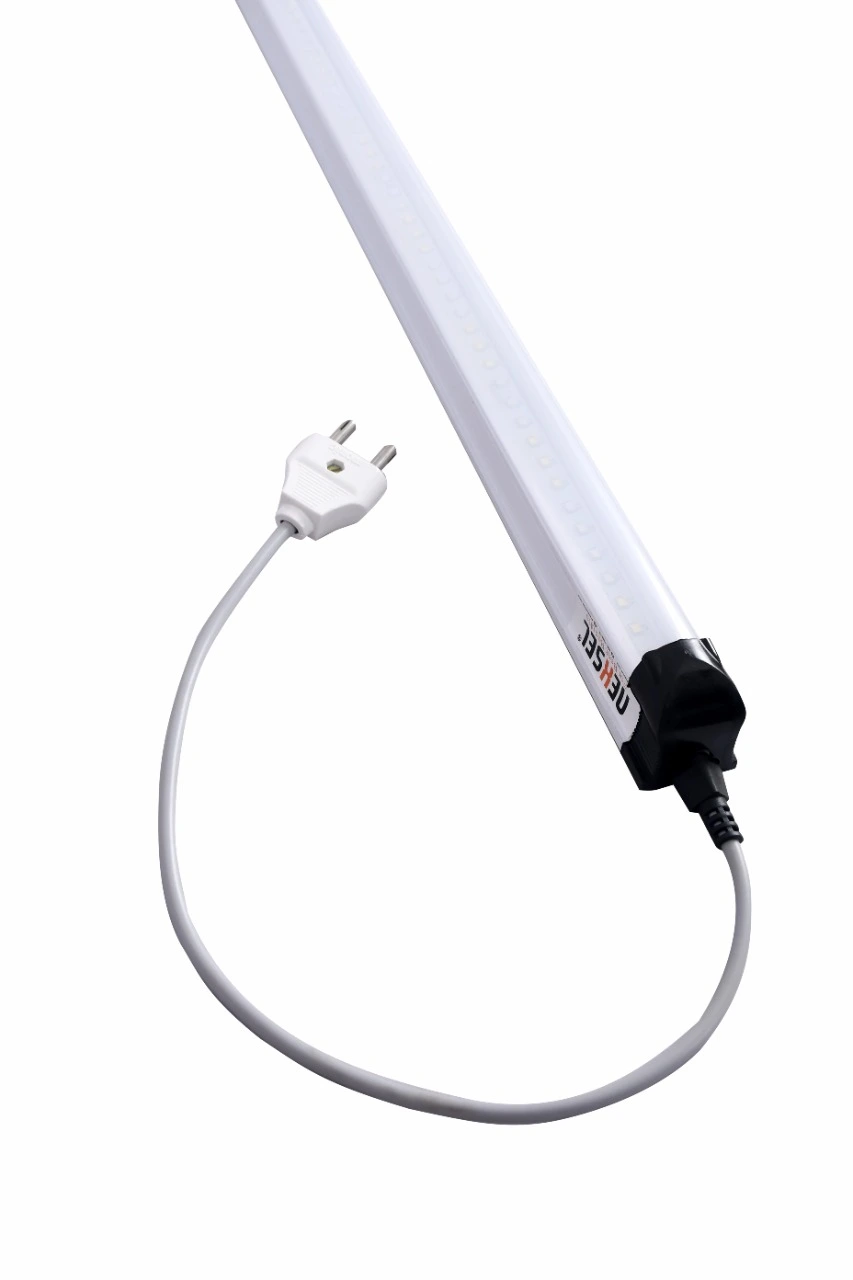
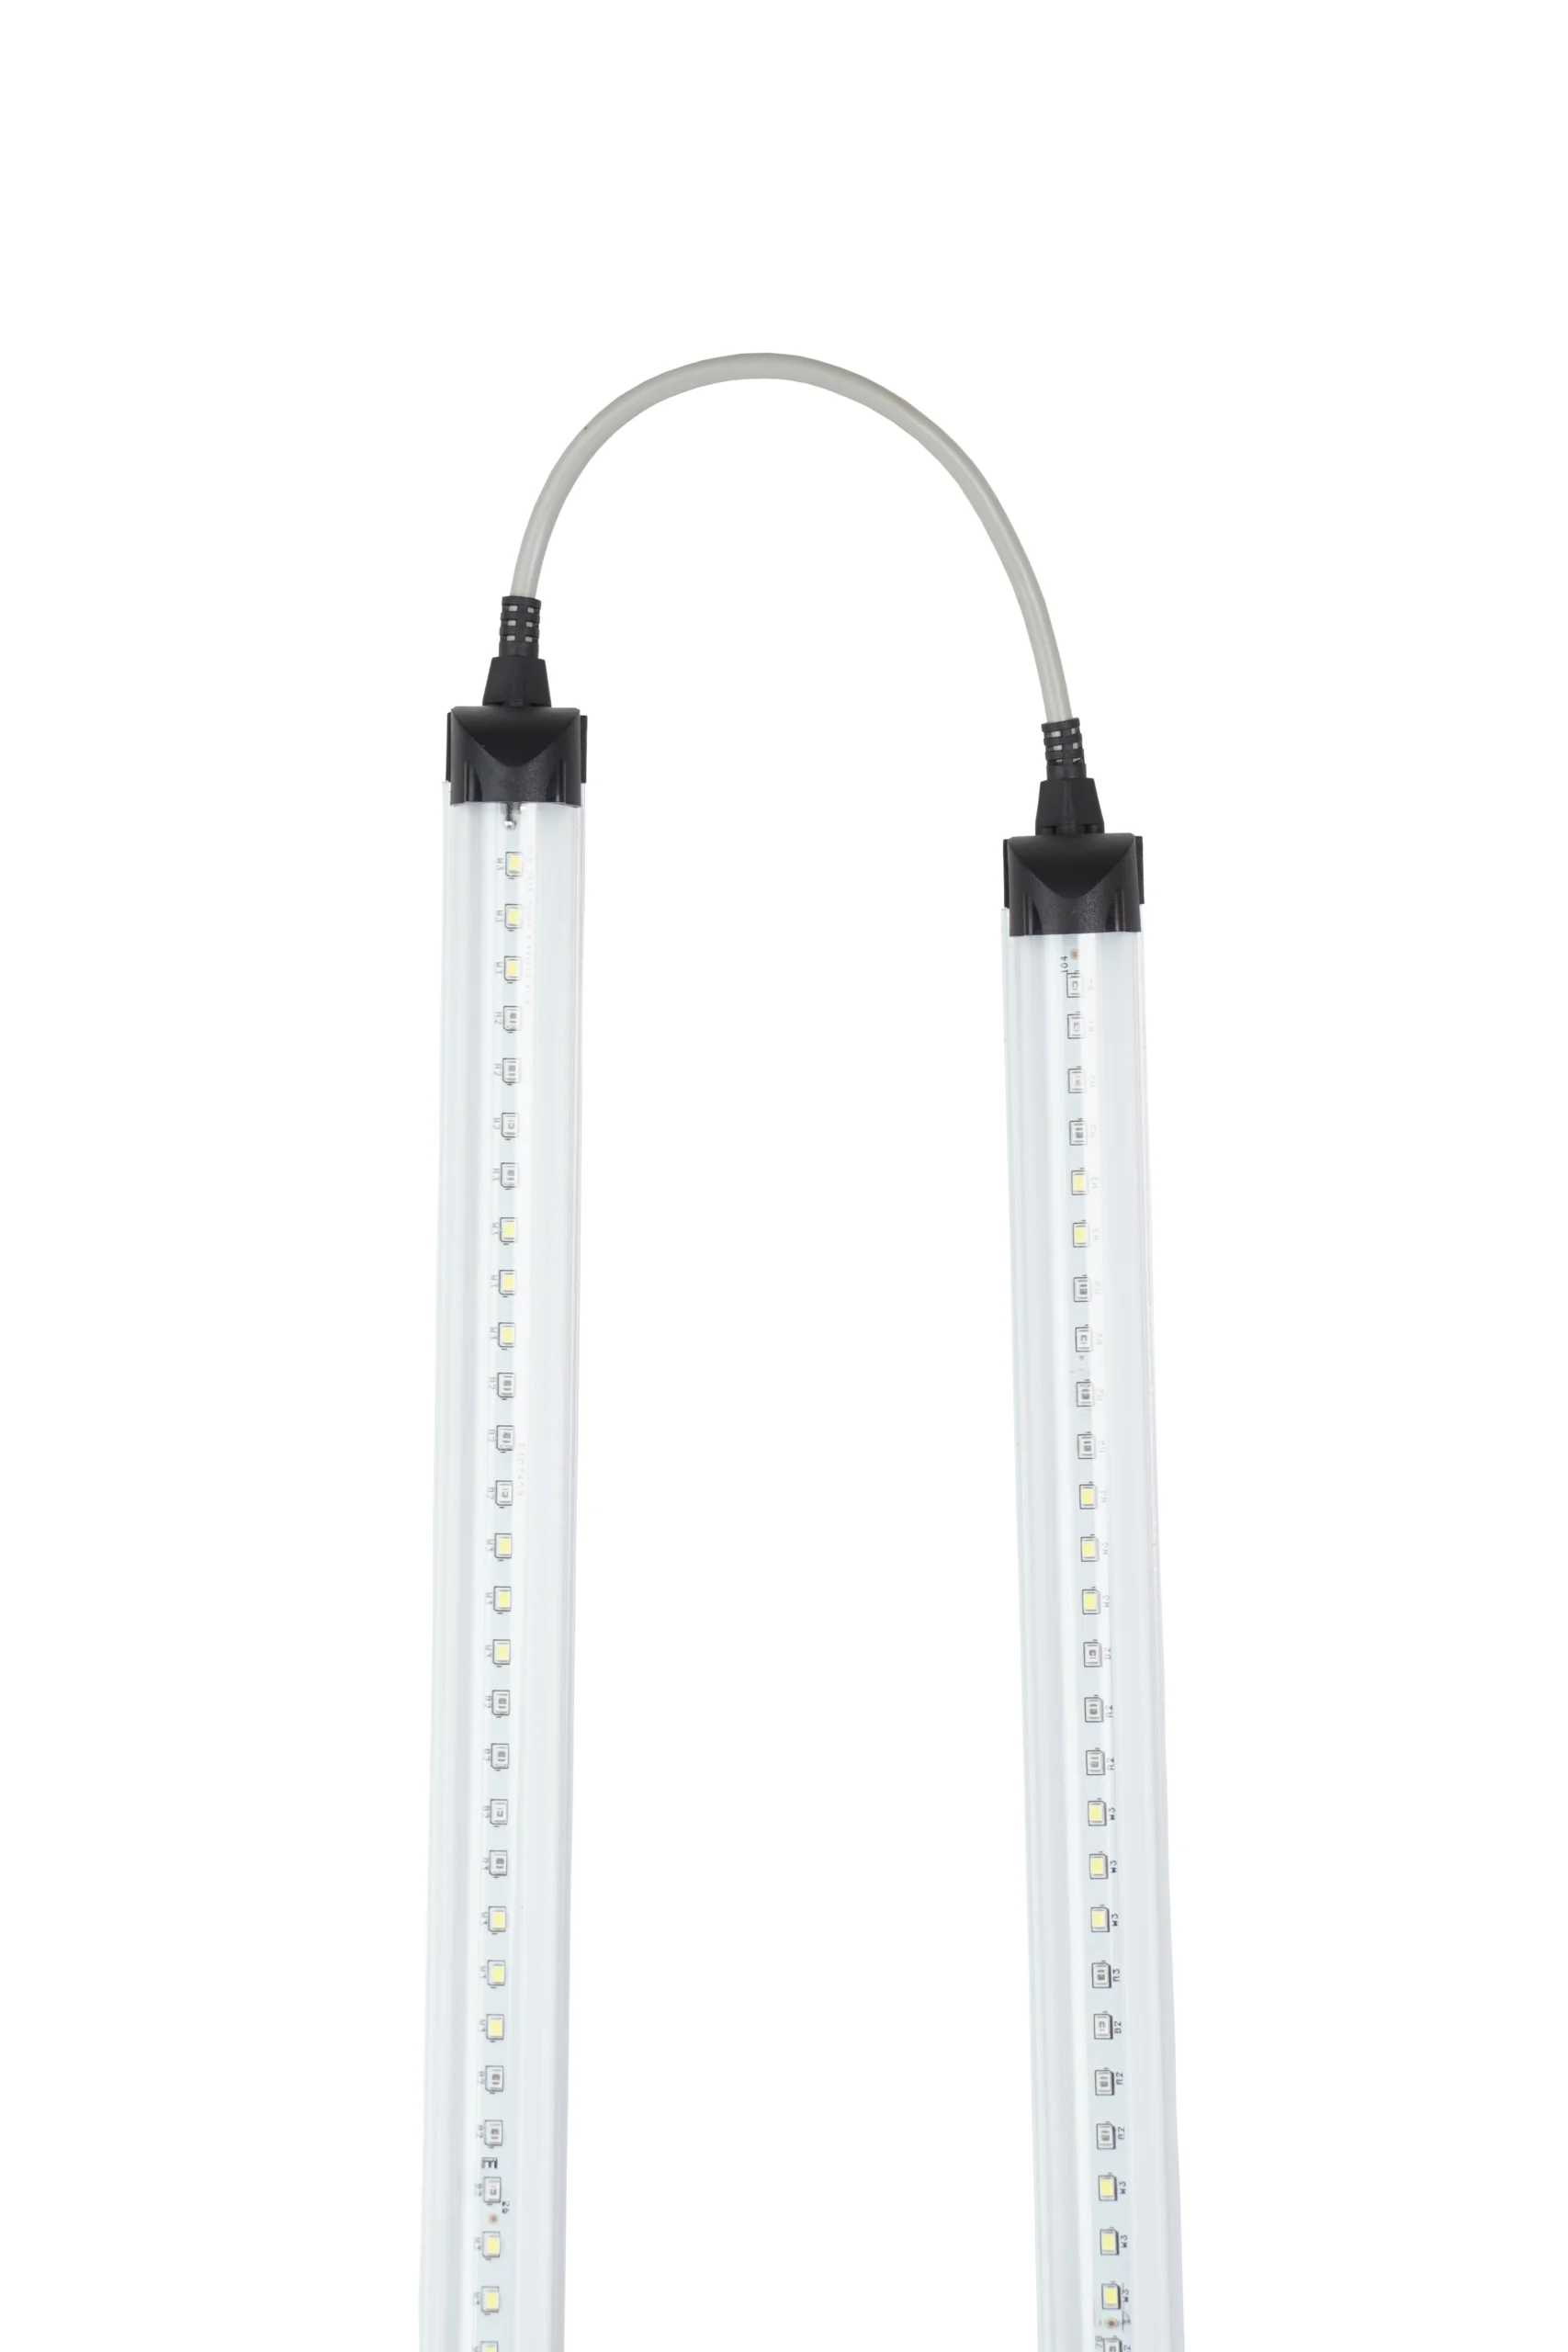
- Lights of your choice
- Light clips or brackets
- Measuring tape
- Pencil or chalk
- Drill & appropriate drill bits
- Screws & wall anchors
- Electrical wires & connectors (if required)
Step 3: Preparing the Wall
- Carefully clean the Green Wall’s surface to remove any dirt or debris. This will ensure a secure installation & prevent any damage to the plants.
- Use a measuring tape & pencil to mark the positions where the lights will be installed. Make sure the marks are level & evenly spaced for a polished appearance.
Step 4: Installing the Lights


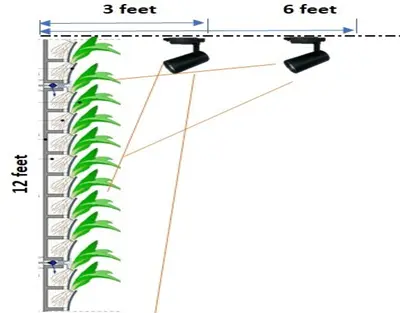
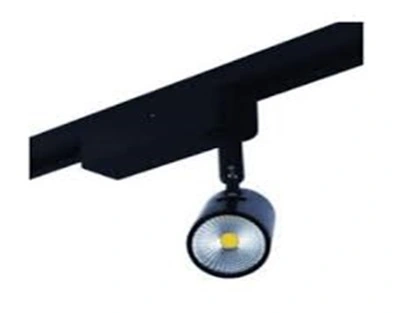
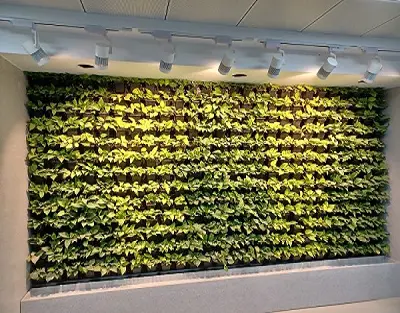
- For the spotlight installation, a unique approach involving a ceiling-mounted power strip is used. This power strip provides the necessary current to all the spotlights. Follow these steps for an effective installation:
- Carefully measure & mark the positions on the ceiling where the power strip will be installed. Take into account the layout of your Green Wall & the placement of the spotlights.
- Drill holes into the ceiling at the marked positions & insert appropriate wall anchors for sturdy support.
- For guidance on achieving an even distribution of light, refer to the sample layouts attached to this guide. These layouts will help you strategically position your spotlights on the power strip for optimal coverage of your Green Wall.
- Securely attach the power strip to the ceiling using screws. Make sure the power strip is level & well-aligned with the markings.
- Install the spotlights onto the power strip one by one. Follow the manufacturer’s instructions to ensure proper installation & alignment. Ensure that the spotlights are evenly spaced for a balanced & uniform distribution of light.
Step 5: Wiring & Connection
- Prioritize safety by turning off the power before any electrical work. This is essential to prevent accidents during the installation process.
- Connect the wiring of each spotlight to the power strip according to the provided guidelines. Ensure that the connections are secure & well-insulated.
- If required, conceal the wiring within channels or covers to maintain a clean & organized appearance. Wire clips can be used to keep the wires tidy & out of sight.
- If you’re not confident in your electrical skills, consider seeking assistance from a qualified electrician to ensure a safe & reliable connection between the spotlights & the power strip.
By thoughtfully considering the sample layouts & following the steps detailed in this guide, you’ll achieve a sophisticated installation that provides both an even distribution of light & an appealing aesthetic for your Green Wall.
Step 6: Test & Finalize
Once the lights are installed & wired, turn on the power to test their functionality. Ensure all lights are working correctly & are evenly distributed across the Green Wall.
You may find this article useful for below topics as well –
Illuminating Your Vertical Garden: A Step-by-Step Guide to Green Wall Lighting | Choosing the Right Lighting Fixtures for Your Green Wall | Safety First: Tips for Properly Wiring and Installing Green Wall Lights | Enhancing Green Wall Aesthetics with Creative Lighting Designs | The Benefits of Smart Lighting Systems for Your Vertical Garden | Balancing Light and Shade: Strategies for Effective Green Wall Lighting | Low-Maintenance Green Wall Lighting: Tips for Easy Care | Lighting Techniques for Highlighting Specific Plant Varieties on Your Green Wall | Green Wall Lighting Automation: Timers, Sensors, and Smart Controls | Transforming a Green Wall into a Nighttime Oasis: Lighting for Outdoor Living Spaces |
- Blog Categories
- Basic of Artificial Lighting for Plants
- Basic of grow Light
- Case Studies
- General Awareness
- Indoor Vertical Farming
- Medical Plant Research
- Online Tool
- Pitch Grow Light
- Plant Lighting Measurement
- Speed Breeding
- Supplemental Lighting
- Tissue Culture Grow Lights
- Indoor gardening
- LED Grow Lights
- Pharma Segment
- General
Shop Products
2Ft 9W Grow Light for Leafy Vegetables
₹317.00 – ₹546.00Price range: ₹317.00 through ₹546.00
4Ft 18W Grow Light for Saffron
₹465.00 – ₹810.00Price range: ₹465.00 through ₹810.00
Popular Products
Enquire Now
Quick Link
Other Links
Design & Developed By VBTEK










Leave A Comment